Tuesday, December 6, 2011

On the 7th Day of Christmas...

Read about the 12 Days of Christmas booklet here.  

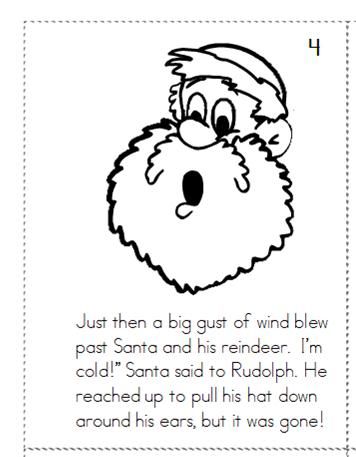
Today we have a little 7-page story that the kids can help illustrate.  We can call it shared reading for the day, right? 


It's two days before Christmas and Santa has lost his hat!  There's no time to get a new one, so he'll have to wear the one Frosty gave him.  But what that looks like is up to you!

This is pretty simple to put together.  Each kid needs a copy of the story.  Just cut, assemble, and staple.  I tried to leave a margin on the right side so no text/pictures gets stapled up.

You can get your storybook here.

Monday, December 5, 2011

On the 6th Day of Christmas...

Read about the 12 Days of Christmas booklet here.

Halfway already!  Christmas really is creeping up.  One of my kids today said "Only 20 more days."  My heart started racing.  So much to do!!!

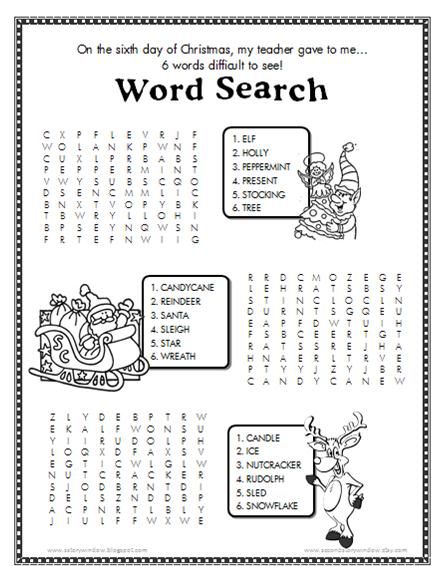
Anyway, today's fun-ness are some word searches for your little ones.  You can get the file here.
I realize that three 6-word wordsearches is 18 words, but the page looked so naked with only 6 words that I had to fill it out a bit.  The kids have never complained.  :)


I limited the diagonal words to only one per puzzle (I think).  Hopefully that means the kiddos can finish without taking too much of the day.

Sunday, December 4, 2011

On the 5th Day of Christmas...

Read about the 12 Days of Christmas booklet here.  

...My teacher gave to me a 5-pointed star that's bendy."

Gah!  Who writes this stuff??

Seriously, though, I've tweaked this for years and that's the best I came up with.  Probably the reason I didn't choose "poet" as a career option.  :)

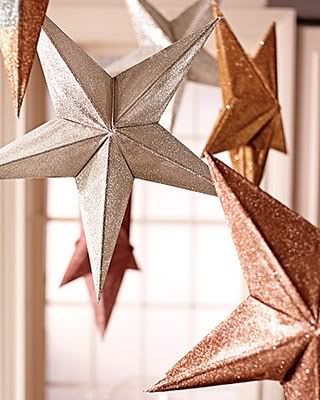
When you're doing today's gift with the littles, it takes some explaining.  We're going to be making a pop-out star.  Here's Martha Stewart's glittery version:

 This isn't quite that elaborate.  For ours, each kid needs a copy of the paper, scissors, and crayons or whatever else you want them to decorate with.

Whenever you're doing paper folding with young children, I think it's easiest to have an example already done and another one you can model the steps with.  In my class it would sound something like this.

"Everybody cut out the star on the black, dotted line.  Hold it up when you're done."

I don't move on until I can see everyone has completed that step.  I try to station myself next to the one or two kids that struggle when it comes to cutting/folding activities.  There's always at least 1!

Once all the stars are cut, I point out the line that runs from the top point down to the bottom middle.
"Everybody fold on that line.  If you've got it, check to see if a neighbor needs help.  When you're finished hold it up."

After all of the stars are folded on the line, I have them fold it on the same line, but fold the star closed this time so you can't see the markings.  Eventually we'll be creating mountain and valley folds, but it's just easier for them if all the lines are folded both ways first. 

When all the lines are folded (and a few are probably mangled now), I point out how some of the lines are dotted and some are solid.  The dotted lines need to be pushed out like mountains.  The solid lines need to be pushed down like valleys.  It might take them a second or two to get the hang of it.

And there you go!  A pointy star ready to be decorated!  And time for teacher to take some Tylenol. 

Get the star paper here.

Saturday, December 3, 2011

On the 4th Day of Christmas...

Read about the 12 Days of Christmas booklet here.  

Teacher thinks she's a comedian!

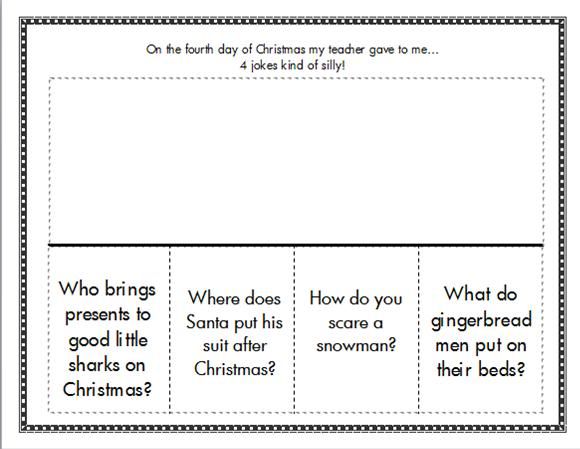
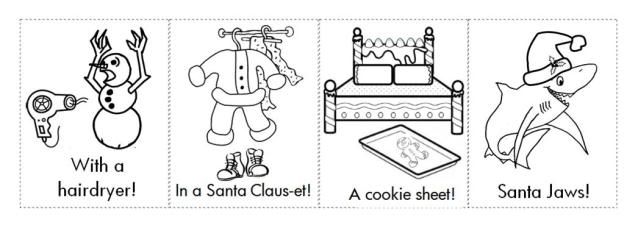
Today we're making a riddle-filled flap book.

For this activity, each student needs a copy of the main page.


Students should cut around the outside dotted line.  That will leave them with a large rectangle.  Fold the paper in half on the thick black line.  Then cut each of the short dotted lines.

Everyone also needs a copy of the answers.  There are 2 sets to a page.  You know, fewer copies to make, right?

 Have the kiddos cut out the answers and try to match them to the correct riddle.  I tried to find riddles that 1-2 graders would have enough schema to understand.  Mine seem to do okay with these, so I think they'll tickle most kids' funny bones.

The pictures are glued underneath the flap, so make sure to stress not to cut the flaps while the paper is still folded.  Of course, no matter how many times you remind them not to you'll still have one that does it anyway.  Best to keep an extra copy on hand.

The pages can be found here.

Friday, December 2, 2011

On the 3rd Day of Christmas..

Read about the 12 Days of Christmas booklet here.  

We have 3 round circles.

Well, that doesn't sound too exciting.

Unless, of course, you get to use the circles to make your very own SNOWMAN BOOKMARK!

It certainly doesn't get more exciting than that. 


Students can cut out and arrange the circles and then use the props to decorate their new snow friend or draw their own accessories.

I'm kind of partial to the fez/bowtie combo, but maybe you have to be a Doctor Who fan to know how cool that is.  :)

Almost forgot-- the link is here.

Thursday, December 1, 2011

On the 2nd Day of Christmas...

Read about the 12 Days of Christmas booklet here.

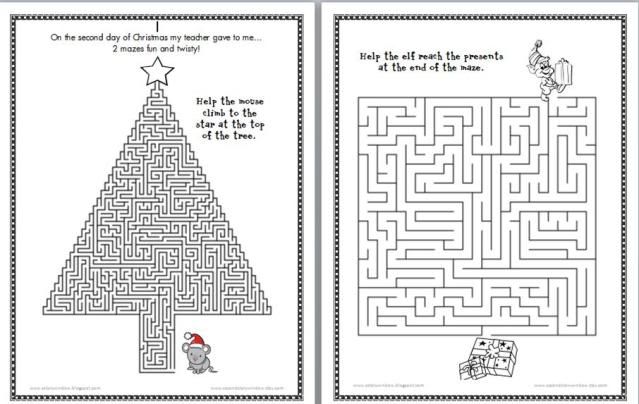
Today we have 2 mazes.  Fun for everyone!


You can download them here.

This year, in an attempt to save paper, we reduced these to 1/2 sheets.  It worked okay the the square maze, but I'm afraid it made the tree maze too tiny for 7-year-olds to navigate.  Oh well!  I guess we'll find out for sure next week!

Wednesday, November 30, 2011

On the 1st Day of Christmas...

Read about the 12 Days of Christmas booklet here

I think this googledocs thing is working.  Let me know if it's really not.

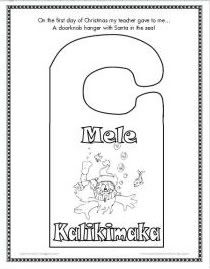
Here's what my kiddos get on the 1st Day of Christmas (12 school days before vacation).  It's a doorknob hanger to color and cut out.  Sometimes they have to take it home to finish, but most of them get it done since this is a quick one.

You can download it here.


Please ignore the terrible rhyming, but do come back tomorrow for Day 2.